
Sewer Camera Inspection in Kyle TX: What the Camera Actually Finds (2026)
You’ve been told you need a sewer camera inspection. Maybe a plumber suggested it after the third backup this year. Maybe a repair quote appeared with no explanation of how the problem was found. Or maybe you’re just wondering whether the camera is a real diagnostic tool or an upsell dressed up as technology. Here’s…
You’ve been told you need a sewer camera inspection. Maybe a plumber suggested it after the third backup this year. Maybe a repair quote appeared with no explanation of how the problem was found. Or maybe you’re just wondering whether the camera is a real diagnostic tool or an upsell dressed up as technology.
Here’s the straight version: a sewer camera inspection is the single most useful diagnostic in sewer work. It’s a waterproof camera, pushed through your sewer line from the cleanout, showing live video of the inside of the pipe — every crack, joint, root, and sag, in real time, with the exact location marked in your yard. It turns an underground guessing game into something you can watch on a screen.
This guide walks through how the visit works, the six problems the camera actually finds, and when a camera is essential versus optional — for Kyle TX homes.
If sewage is actively backing up into your home, skip the reading and call (512) 729-5265 for sewer leak detection in Kyle TX. A backup is a health hazard; the camera visit is the fastest way to find its cause.
How a Sewer Camera Inspection Works, Step by Step
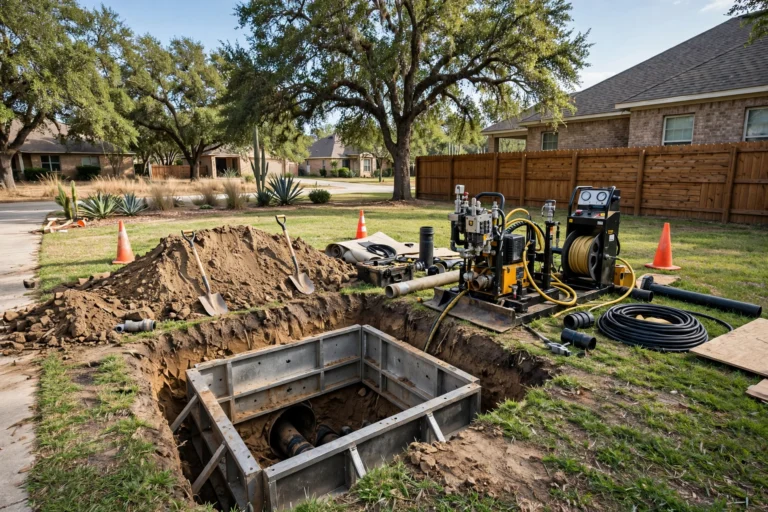
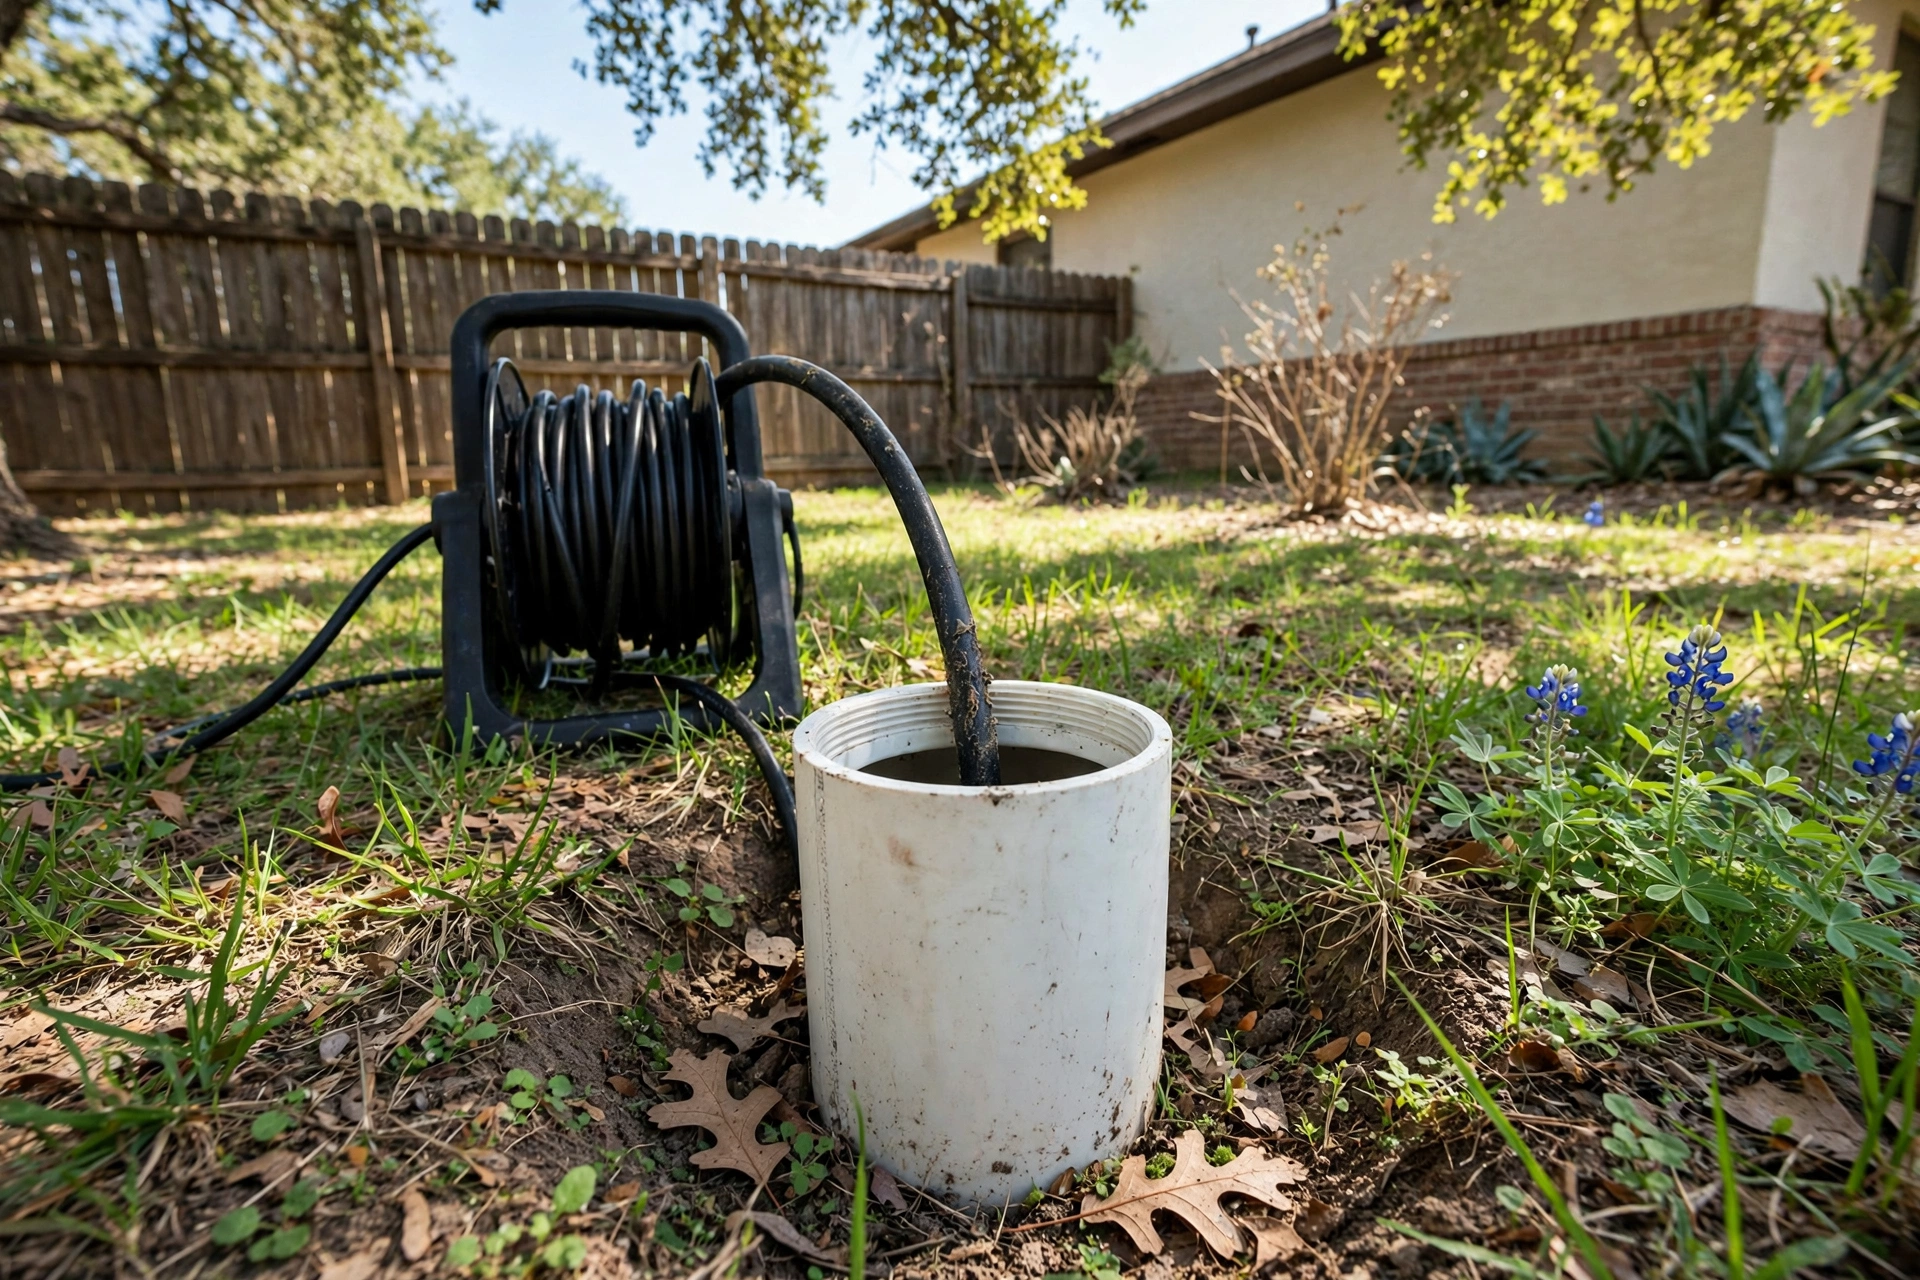
1. Access through the cleanout. The technician finds your sewer cleanout — a capped pipe, usually white PVC, 3–4 inches wide, somewhere in the yard near the foundation or along the side of the house. The camera cable goes in here. If there’s no cleanout, access may come through a pulled toilet or a roof vent, which takes longer and can change the price — one reason to ask about access when you book.
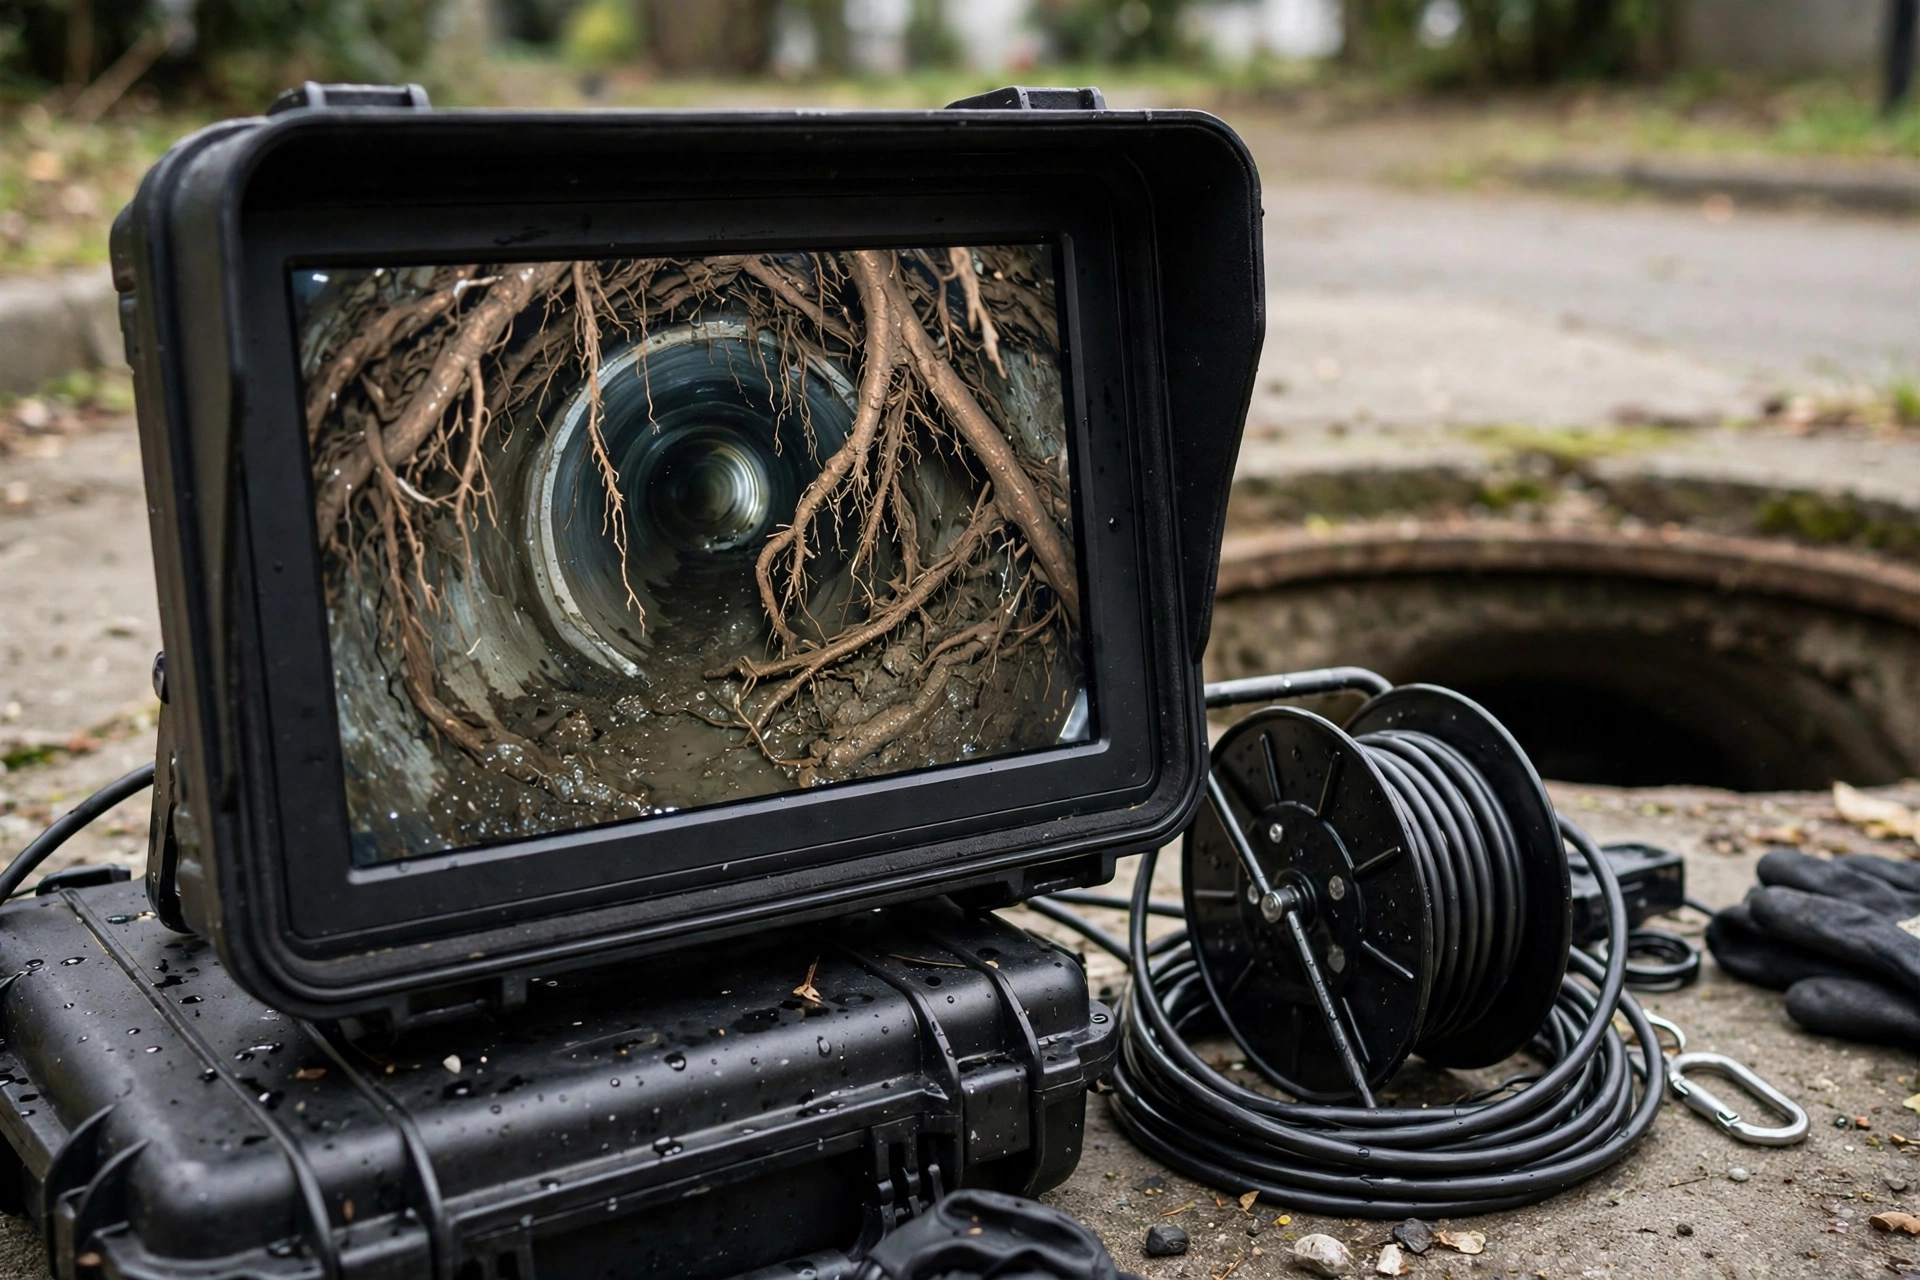
2. The camera travels the line. The camera head, about the size of a large marble, is pushed along the lateral — the pipe running from your house to the city main at the street. You watch the feed live on a monitor. A good technician narrates as it goes: “Here’s a joint… here’s where the line turns… here’s the root mass.”
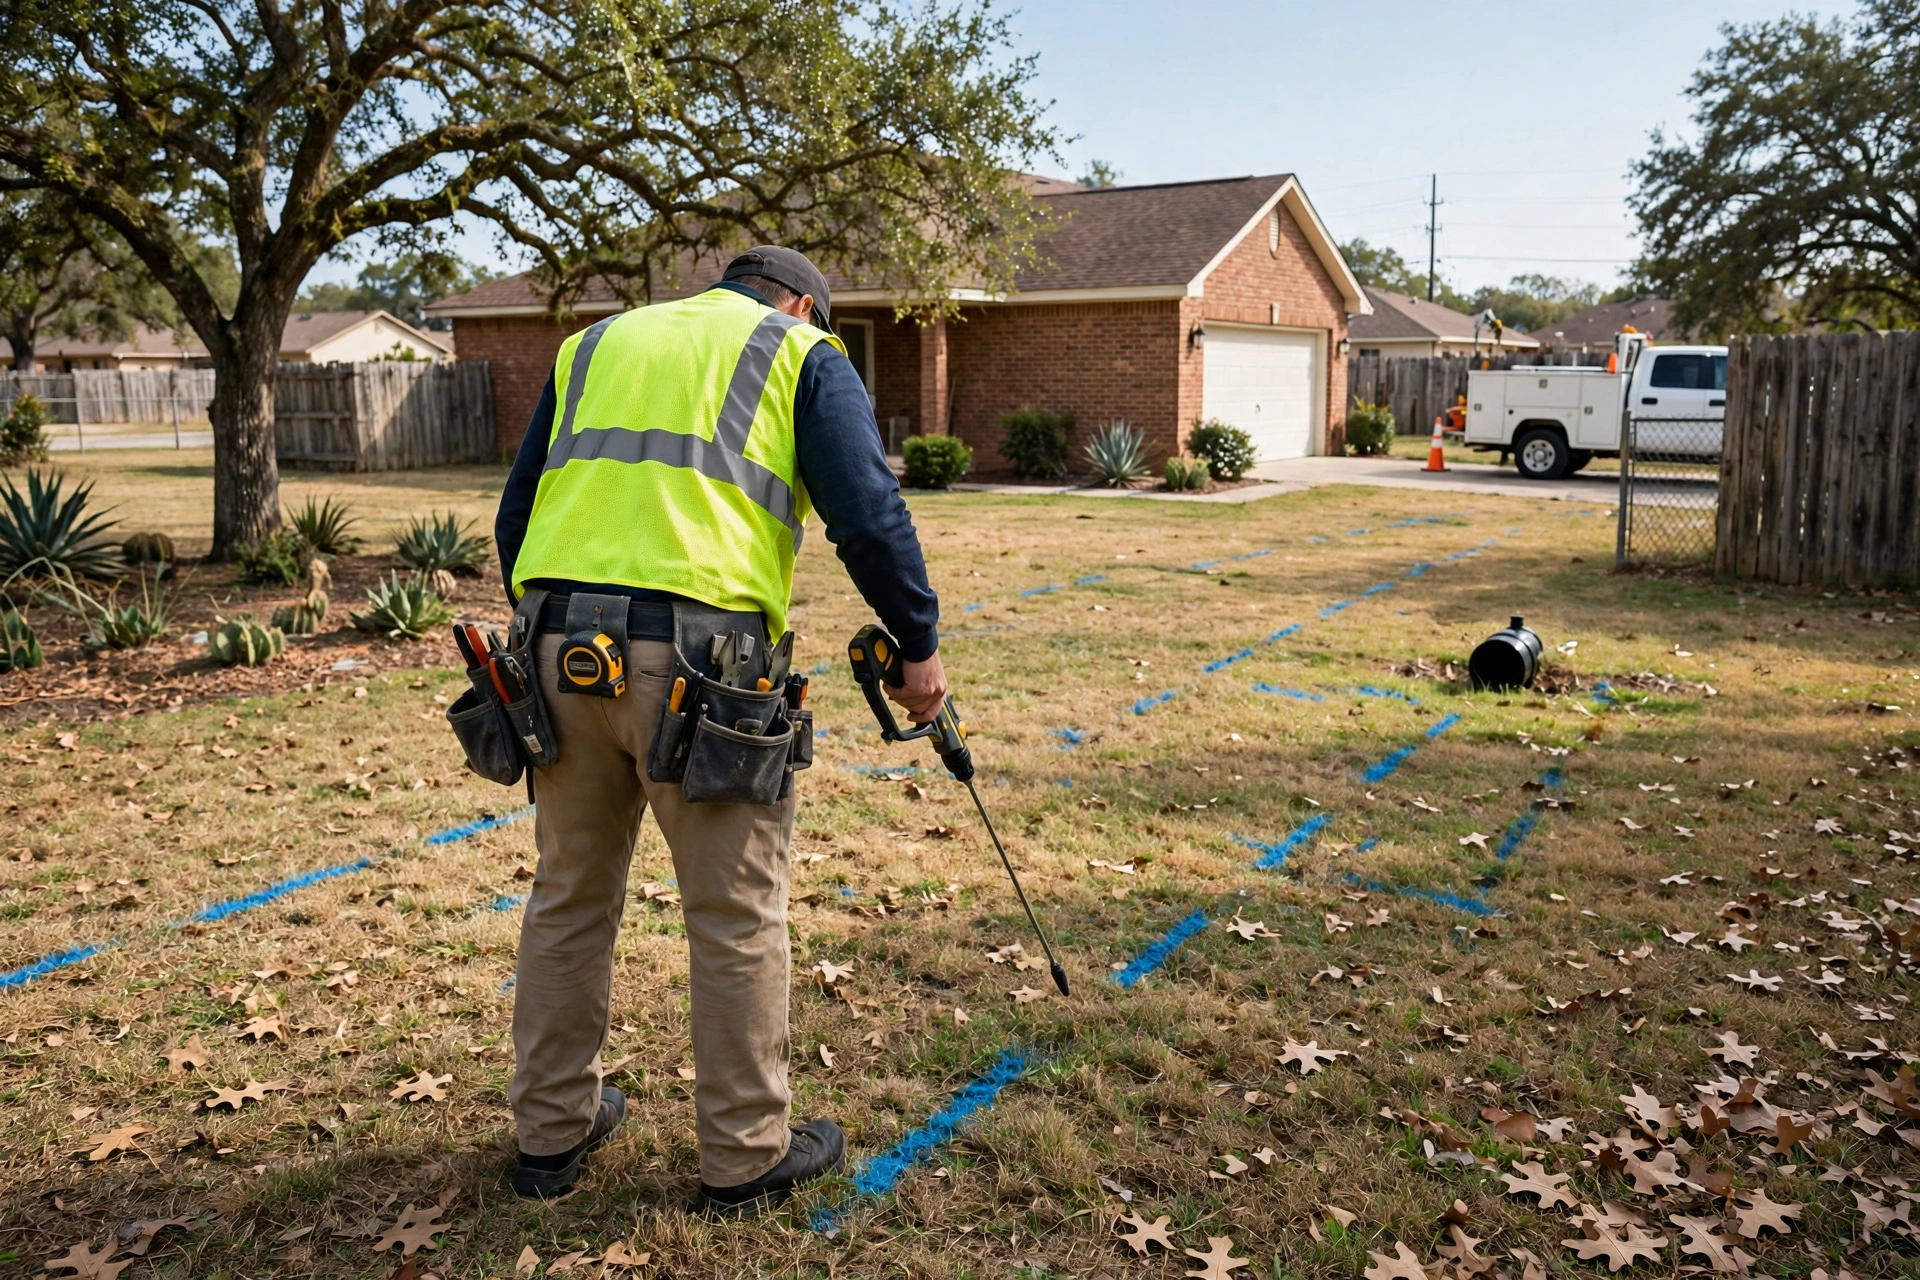
3. Problems are located, not just seen. The camera head carries a transmitter. Above ground, a locator wand picks up the signal, so the technician can mark the exact spot in the yard — how far from the house, how deep — where each problem sits. This is the part that matters for repair: without a locate, a crew digs on an estimate; with one, they dig on a mark.
4. You get the findings in plain English. The visit should end with an explanation of what was found, video or photos of the damage, and a recommendation: clean it, spot-repair it, line it, or replace it. Ask for the video and a written report — they’re your evidence when comparing repair quotes or talking to an insurer.
The whole visit typically takes under an hour for a standard residential lateral, longer for long runs or difficult access.
The 6 Problems the Camera Actually Finds
1. Tree root intrusion. Roots enter through cracks and loose joints, then thicken inside the pipe until they block flow or crush the section. On camera, roots look like hairy masses or fibrous webs filling the pipe. This is the most common finding in Texas, and it’s the one that explains recurring clogs: snaking cuts the roots back temporarily, but the opening remains, so they return.
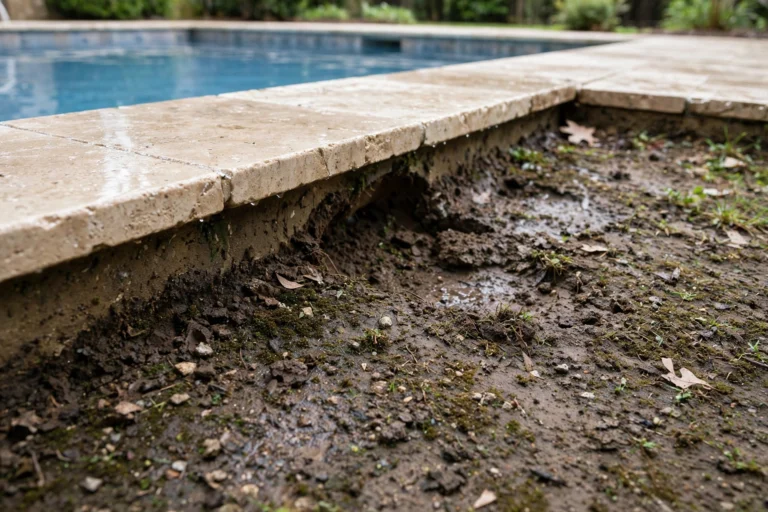
2. Cracked or broken pipe. Cracks show as dark lines or gaps in the pipe wall. Small cracks leak wastewater into the surrounding soil (hello, yard smell and soggy patches); large breaks let soil in and sewage out. The camera shows whether it’s one crack or a shattered section — the difference between a spot repair and a replacement.
3. Separated or offset joints. Pipe sections are joined at intervals, and ground movement — especially in Central Texas expansive clay soil, which swells when wet and shrinks when dry — can push joints apart. On camera, an offset joint looks like a step or lip inside the pipe, catching debris and narrowing flow. Offsets are a classic cause of recurring blockages at the same spot.
4. Bellies (sagging pipe). A belly is a low section where the pipe sags and holds standing water instead of draining. The camera shows water pooling where it shouldn’t. Bellies collect debris, stress the joints on either side, and eventually open them. A belly can’t be fixed by cleaning — it needs repair or replacement of that section.
5. Blockages and buildup. Grease, scale, debris, and foreign objects narrow the pipe. The camera distinguishes a simple blockage (cleanable) from a blockage caused by damage (which will return until the damage is fixed). That distinction is the whole point of the camera: it tells you whether cleaning is the fix or just a pause button.
6. Collapsed pipe. A full collapse shows as a section where the pipe has lost its shape entirely — the camera often can’t pass it. Collapse means lining is no longer an option; the section needs excavation or pipe bursting. Finding a collapse on camera before anyone digs is exactly why you inspect first.
When a Camera Inspection Is Essential
- Recurring backups or clogs. If the problem returns weeks after every cleaning, something structural is causing it. The camera finds what.
- Whole-house symptoms. Multiple slow drains, gurgling toilets, and yard sewage odor together point to the main line — see sewer line leak warning signs for the full pattern.
- Before approving a big repair. Never authorize a sewer replacement or major repair without camera evidence showing the damage, its location, and its extent. A repair quote without footage is a guess with a price tag.
- Before buying a home. A standard home inspection cannot see inside the sewer line (more on this in the pre-purchase sewer scope topic later in this cluster).
- After a repair, to verify it. A post-repair camera run confirms the fix actually worked and the line is clear.
When a Camera Is Optional
- A single slow fixture. One slow sink or tub is almost always a local clog — a plunger or drain cleaning handles it. The main line isn’t suspect until multiple fixtures misbehave together.
- A problem that just started after something went down a drain. If the timing points to a foreign object, a simple cleaning usually resolves it.
- A healthy line documented recently. If a camera inspection within the last year or two showed a sound line and nothing has changed (no new symptoms, no new trees, no ground movement), re-inspecting on a schedule isn’t necessary — though homes with mature trees near the line benefit from a camera check every 1–2 years.
Camera Inspection vs Other Sewer Tests
Two other tests come up in sewer work, and they’re worth distinguishing:
- Hydrostatic pressure test. The line is filled with water and monitored for level drop — it proves a leak exists under a slab but doesn’t show where or what it is. It’s a yes/no test; the camera is the where/what test. For the hydrostatic angle, see how a hydrostatic pressure test finds sewer leaks under your slab.
- Smoke test. Smoke is blown into the system to reveal leaks at joints, vents, and connections — useful for finding odor sources and illegal connections, less useful for mapping pipe condition. The camera remains the standard for condition assessment.
In practice, the camera is the first and most informative test for almost every residential sewer question. The others answer narrower questions.
What a Good Camera Report Includes
Don’t accept “we looked, it’s bad” as a result. A proper camera inspection report gives you:
- Video footage of the full run, or at least of every problem area, that you can keep.
- Locations for each finding — distance from the cleanout and depth, marked in the yard.
- A plain-English summary — what each finding is, how serious it is, and what it means for repair.
- A recommendation — clean, spot-repair, line, burst, or replace — with the reasoning, not just the verdict.
With that report in hand, you can get comparable repair quotes from multiple companies, because everyone is quoting the same documented problem instead of their own guess.
Cost Note (Borrowed Texas Ranges)
No Kyle-specific sewer camera pricing is published. Borrowed Texas-wide ranges put a camera inspection at roughly $125–$500 (Houston-area guides) to $260–$1,700 (Angi Austin), varying with line length, cleanout access, and whether video plus a written report is included. Your exact Kyle price is confirmed on the call — ask whether the quote includes the video, the locate, and the written report, because those three items are what make the visit useful.
Frequently Asked Questions
How long does a sewer camera inspection take?
Usually under an hour for a standard residential lateral. Long runs, difficult access (no cleanout), or multiple problem areas can extend it.
Will the camera damage my pipes?
No. The camera head is small, smooth, and designed for this. It cannot pass a fully collapsed section, but it won’t cause a collapse.
Do I need to be home during the inspection?
You should be, at least for the findings walkthrough. Watching the live feed while the technician explains it is how you understand what you’re paying to fix.
Can the camera find a leak under my slab?
Yes — the camera travels under the slab and shows the pipe condition there. For slab-specific leak confirmation, a hydrostatic test is sometimes used alongside the camera.
What if the camera finds nothing wrong?
That’s a good outcome, and the visit still has value: a documented healthy line rules out the main line and points the diagnosis back to local drains or fixtures. Confirm the fee still applies and that you get the documentation either way.
See Inside Your Sewer Line Before You Pay to Fix It
A sewer camera inspection is the difference between a repair based on evidence and a repair based on a guess. For a system buried under your yard and slab, that difference is worth more than the visit costs.
Call Kyle Leak Detection Pros at (512) 729-5265 for sewer leak detection in Kyle TX — camera inspection with live footage, yard locate, and a written report you can keep.