
Pool Equipment Pad Leak in Kyle TX: How to Find and Fix It (2026)
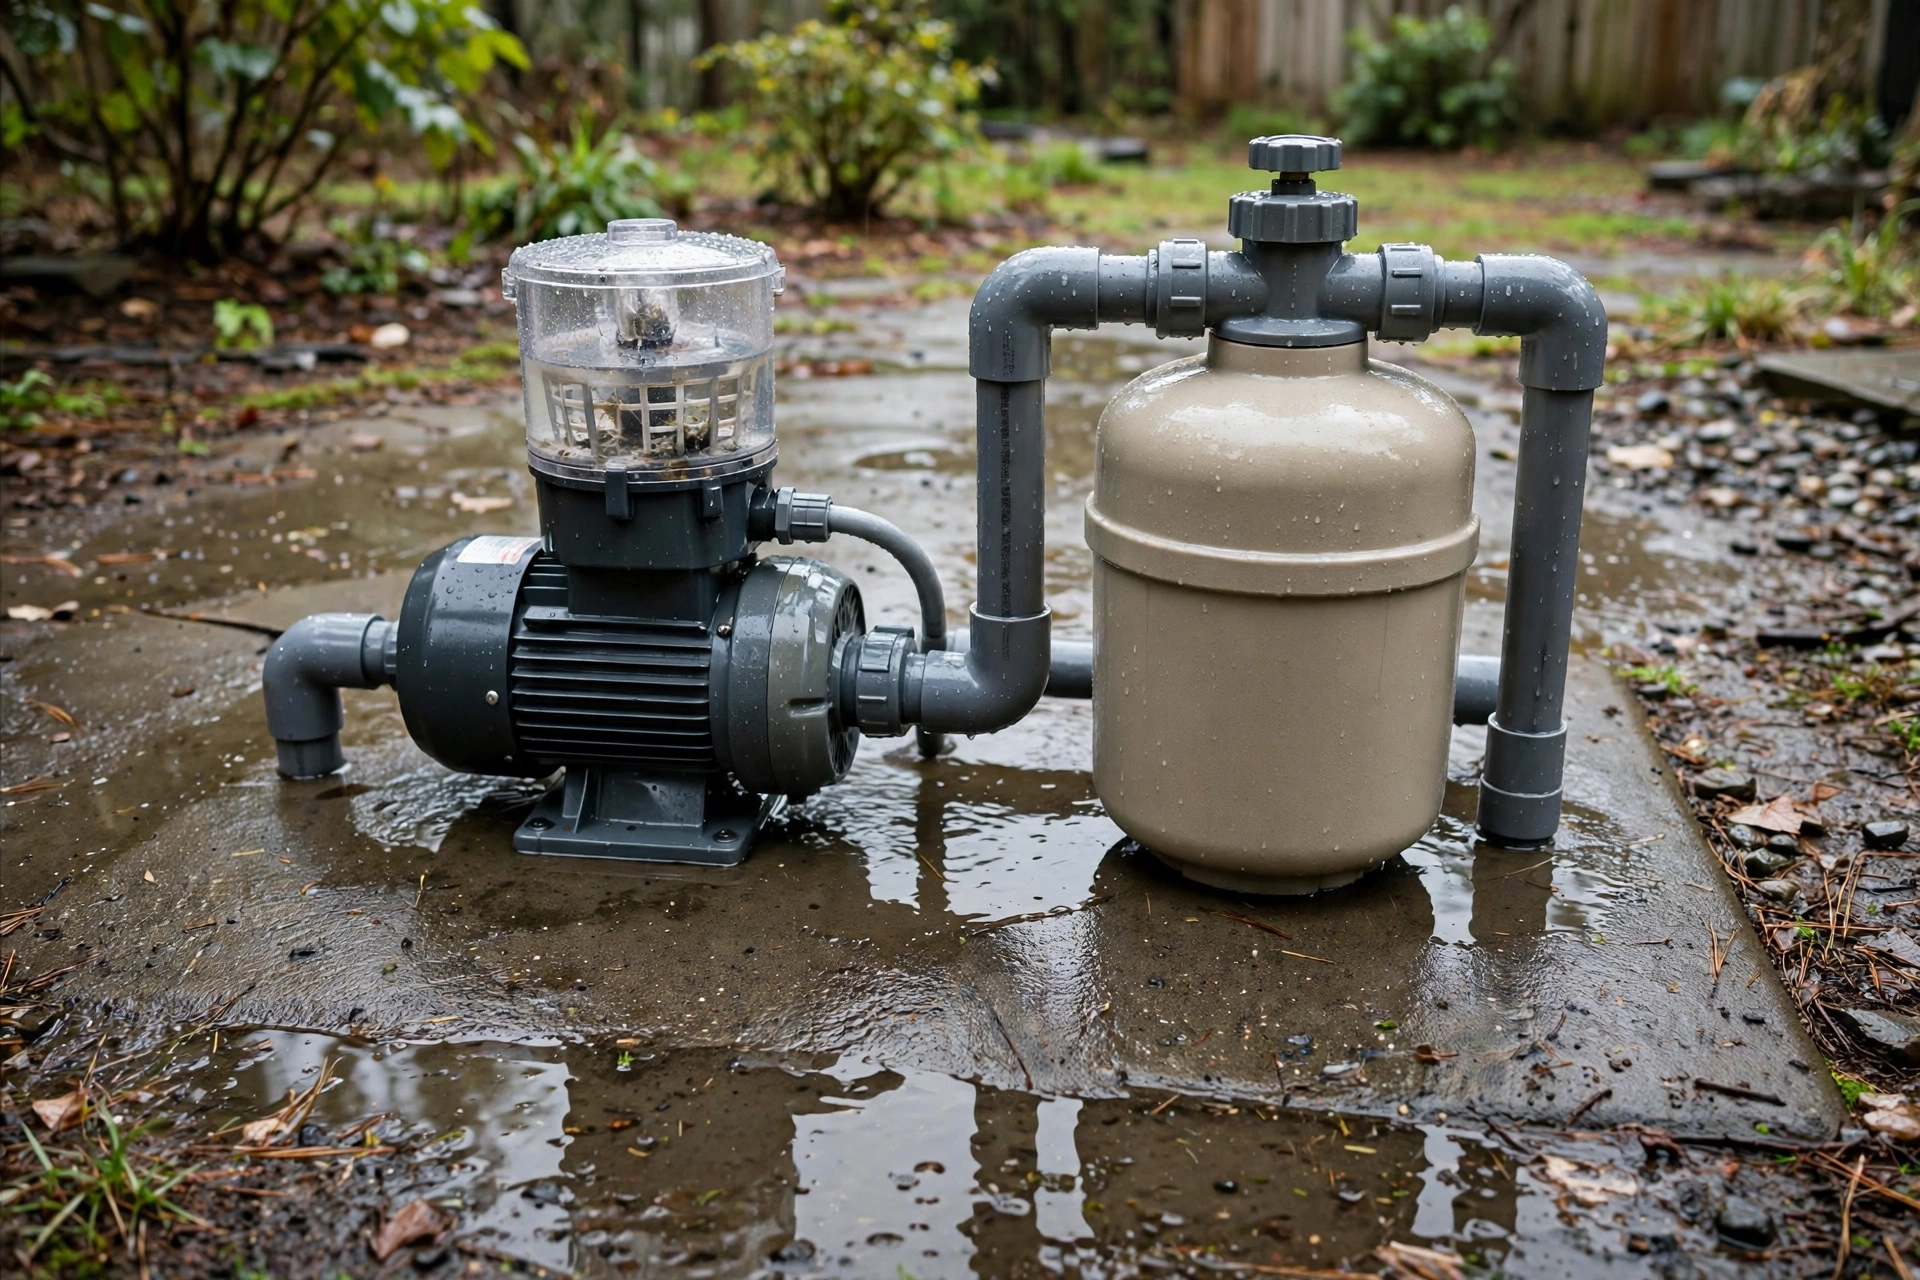
A pool equipment pad leak is often the easiest pool leak to spot: a recurring puddle, damp soil around the pump, or a visible drip. If you have noticed wet ground near your pool equipment in Kyle, TX, start at the pad before assuming the problem is underground or in the shell. A look at…
A pool equipment pad leak is often the easiest pool leak to spot: a recurring puddle, damp soil around the pump, or a visible drip. If you have noticed wet ground near your pool equipment in Kyle, TX, start at the pad before assuming the problem is underground or in the shell. A look at the pump, filter, heater, and valves often shows its source.
Not every wet spot is a leak, and not every pad drip is safe to fix yourself: splash, condensation, and rain can also leave the pad damp. This guide helps you tell the difference, check common pad leak points, and know when to call a professional. To talk it through, call (512) 729-5265. A pad leak is often the fastest pool problem to confirm by phone, as you can photograph it and describe where water appears.
See our pool leak detection page, pool leak signs, and cost guide.
What Is the Pool Equipment Pad?
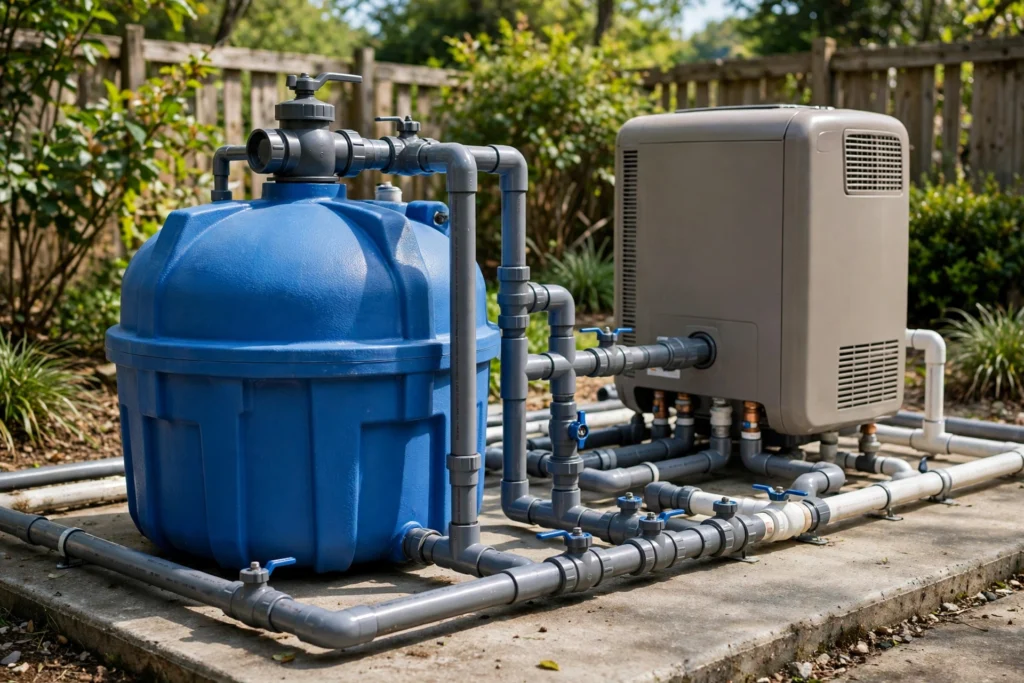
The equipment pad is the concrete slab, or level pavers or gravel, holding pool equipment. Water leaves the pool, goes to the pump, passes through the filter and, if you have one, the heater, and returns through valves and return lines. Every connection there can wear, loosen, or crack.
Because the pad concentrates many joints in one area, a leak is most likely to show itself there. A buried-line leak may only show as a falling water level, while a pad leak usually shows as a drip, a never-drying damp patch, or mineral staining. Dry the area, run the system, and watch where water reappears. That concentration is why a pool equipment pad leak usually announces itself before a buried-line leak does.
The Pad Checklist: Where to Look First
Work through the pad slowly, one piece at a time, noting exactly where water appears. A drip photo beats a general description: it shows whether water comes from a joint, seal, or tank.
Pump Seals
The pump is the most common pad leak source, and the most important to approach with care. Look under and around the pump, without opening anything, for a drip where it meets the pipes, dampness under the body, or white deposits. A worn pump seal often drips steadily while the pump runs and slows or stops when it is off; note that. Do not open the housing, remove the lid while pressurized, or reach in with wet hands. Pump seals are a professional job, especially as the pump is electrical.
Filter Tank and Weeps
Check the filter tank for cracks, damp patches, or weeping seams, plus top assembly and drain plug. A loose drain plug can cause a surprisingly large puddle. Also check the pressure gauge and air relief valve. Note whether the area is wet only while the pump runs, or all the time, separating a pressurized leak from a drain problem.
Heater Connections
If you have a heater, check its inlet, outlet, and unions. These expand and contract with temperature, which can loosen a union over time. Look for drips, dampness under the heater, and rust or mineral staining. Do not open the housing, remove panels, or inspect burners, internal parts, or gas or electrical connections; internal heater work belongs to a qualified professional.
Valve Unions and O-Rings
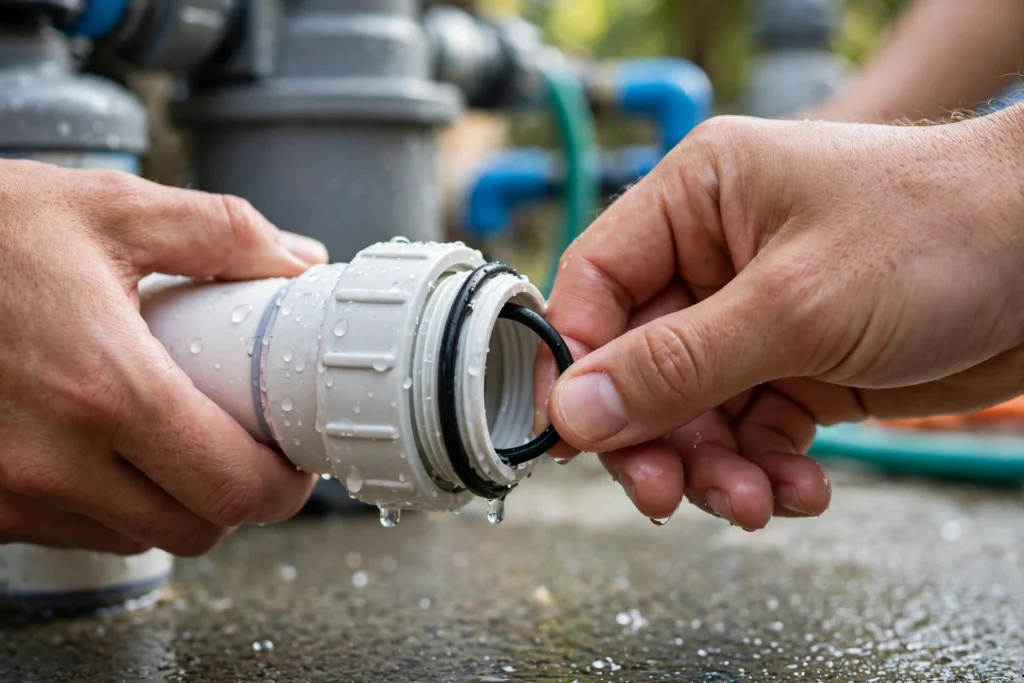
A union is the large threaded fitting joining a pipe to a pump, filter, heater, or valve, and inside it is an O-ring sealing the joint. When an O-ring dries, flattens, cracks, or slips, water can seep past it. Check each union for a drip, wet ground below one union but not others, or a mineral trail. Replacing an O-ring sounds simple, but only attempt it if you can shut the system down safely, relieve pressure, and reassemble the joint.
Loose Fittings and Visible Pipe Joints
Finally, walk visible pipe runs and check every joint and fitting. Do not force a fitting, or overtighten plastic fittings, which can crack and turn a small weep into a larger break. If a fitting is clearly loose, gentle hand-tightening may be reasonable, as below. If it needs a wrench, resists, or sits on a pressurized or electrical part, stop and get help.
Pad Leak or Just Splash and Condensation?
Not every wet pad is a leak: splash, filter-cleaning water, rain, and condensation on cool pipes can leave it damp. Condensation is easy to mistake for a leak in humid weather, when cold pipes sweat onto the pad. The test costs nothing: dry the area, then watch where water reappears.
Choose a period with no swimming or rain. Dry the pad and reachable pipes, then run the pump. Water reappearing from the same joint as a steady drip points to a leak. A pad dry while the pump runs but wet after swimming points to splash. A thin film over cold pipe, rather than a joint drip, points to condensation.
Next, compare pump on versus pump off. A pressurized leak usually worsens while the pump runs, and may slow when it is off. A drain-plug leak may continue with the pump off, while a spot that never changes may be drainage, not an active leak. Note each state; that comparison is very useful to a technician. That on-versus-off comparison is often the fastest way to confirm a pool equipment pad leak.
If you suspect the pool itself is losing water, keep that separate from the pad check. The bucket test compares pool loss with loss from a bucket on a step over about 24 hours, separating evaporation from a real leak. For full steps, see our pool leak signs post. With a visible pad drip, skip a full bucket test; the drip is stronger evidence.
What You Can Safely Check Yourself
You can safely dry the pad and watch where water reappears, photograph drips noting pump on or off, check for a loose drain plug, and note whether wetness is under one item or across the pad. You can also note the filter gauge reading, without adjusting it. A clearly loose, safely reachable fitting may be gently hand-tightened, stopping at first resistance, if not on an undepressurized line, pump or heater housing, or near electrics.
Do not open pump or heater housings, remove a pump lid, filter top, or valve assembly while pressurized, or touch electrics wet-handed. Do not stand in pooled water near electrical equipment, or use sealants, tape, or glue as a permanent pressurized-joint fix unless a professional advised it. If unsure, turn the pump off and call.
When a Pad Leak Needs a Professional
Call a professional for a pump seal, heater connection, cracked tank or fitting, pressurized joint you cannot depressurize safely, or anything electrical. Call also when drying the pad and running the pump still does not show the source, or when the pad is dry but the pool keeps losing water; then a full detection visit is right.
A professional visit starts with the same checklist, plus pressure testing and isolating lines. That matters because more than one joint can weep at once, and a pad drip can mask a second leak. Ruling out the pad first saves time: if it is the source, repair focuses there; if not, the search moves to shell, skimmer, returns, and buried lines. For a step-by-step look at how pros narrow a pool leak, see Angi’s guide to finding a leak in a pool. That checklist-plus-testing approach is how a pool equipment pad leak gets confirmed rather than guessed at.
Report a pad leak promptly even in the off-season. November is pool off-season in Central Texas, with less pool use, but a slow drip can still waste water, keep the pad damp, cause staining, and worsen as seals age. A call with photos and pump notes often confirms whether the pad is the likely source.
What a Pad Leak Repair May Cost
No Kyle-specific pad repair price is presented here as verified, and this guide does not invent one: cost depends on which part leaks and whether a seal, O-ring, union, or larger component needs replacing. For general context only, borrowed from lonestarpoolcleaning.com, pool leak repairs are reported in a broad $150–$5,000 range by severity and location, with pad fixes generally at the simpler end. That is a general range, not a pad price.
Your exact price is confirmed on the call, once leak location and type are described and, where needed, inspected. For detection pricing factors, see our pool leak detection cost guide. Before that call, note equipment, joint, pump state, and a drip photo.
A quick pad look when you run the pump and at season start and end catches most pad leaks. If a drip returns from a specific joint after drying, note equipment, joint, and pump pattern, photograph it, and call (512) 729-5265. Ruling the pad in or out first saves a full visit. That photo and pump pattern are what turn a suspicion into a confirmed pool equipment pad leak.
Can a pool equipment pad leak be a slow drip only when the pump is running?
Yes. A pool equipment pad leak often appears or worsens while the pump runs, because the system is under pressure then. A worn seal, weeping union, or damaged O-ring may drip with the pump on and slow or stop with it off. Noting that pattern, with a photo, is useful on a call.
How do I tell a pool equipment pad leak from condensation or splash?
Dry the pad, run the pump, and watch where water reappears. A leak returns to the same joint as a steady drip, splash returns after swimming and is broader, and condensation is a thin film on cold pipes, not a joint drip. Pump on versus off also helps, as a pressurized leak changes with pressure.
Is it safe to tighten a leaking union or fitting myself?
Only in limited cases. A clearly loose, safely reachable fitting not on a pressurized or electrical part may be gently hand-tightened, stopping at first resistance. Do not force or overtighten plastic fittings, open pump or heater housings, or touch electrics with wet hands. If it needs a wrench or resists, leave it for a professional.
What should I check first on a wet pool equipment pad?
Start with pump seals, then filter tank, drain plug, and top assembly, then heater unions, then valve unions and O-rings, then visible pipe joints. Note which equipment the water is under, pump on or off, and whether the drip is steady or intermittent.
Does a wet pad always mean I need a full leak detection visit?
No. A visible drip at a specific joint can often be confirmed by phone with photos and a description, pointing to a focused pad repair rather than a full visit. A full visit is right when the pad is dry but the pool keeps losing water, the source is unfound, or a pad drip may mask a second leak.